Specific Process Knowledge/Characterization/AFM: Atomic Force Microscopy/Workspaces: Difference between revisions
Appearance
| Line 77: | Line 77: | ||
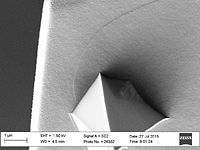
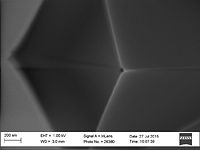
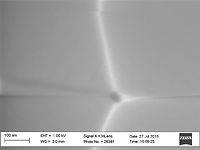
|Box1 no. 2||bghe/smurthy||Round pillars became misshaped||[[File:Box1 no2 tilt0ny2_55.jpg|200px]][[File:Box1 no2 tilt21_04.jpg|200px]] | |Box1 no. 2||bghe/smurthy||Round pillars became misshaped||[[File:Box1 no2 tilt0ny2_55.jpg|200px]][[File:Box1 no2 tilt21_04.jpg|200px]] | ||
|- | |- | ||
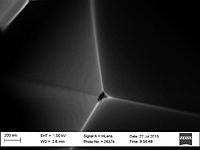
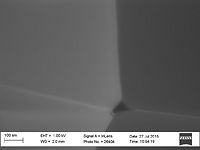
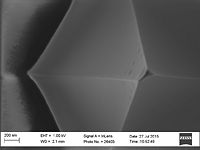
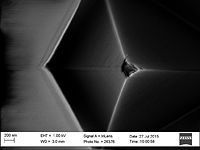
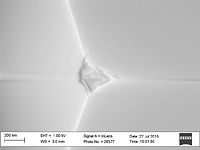
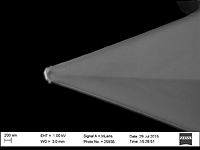
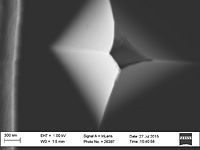
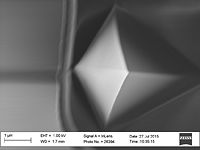
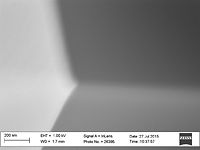
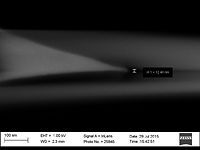
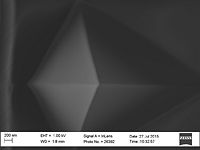
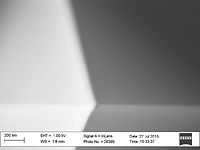
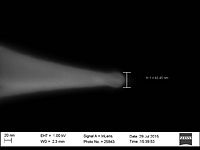
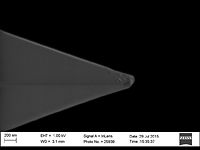
|Box1 no. 3||bghe/zhongli||Force curve bad, could not get the tip off the surface||[[File:Box1 no3 tilt0_28.jpg|200px]][[File:Box1 no3 tilt0_29.jpg|200px]] | |Box1 no. 3||bghe/zhongli||Force curve bad, could not get the tip off the surface||[[File:Box1 no3 tilt0_28.jpg|200px]][[File:Box1 no3 tilt0_29.jpg|200px]][[File:box1 no3 90dg_03.jpg|200px]] | ||
|- | |- | ||
|Box1 no. 4||mattod||Used dirty sample, force curve very bad, tip probably broken||[[File:Box1 no4 tilt21_10.jpg|200px]] | |Box1 no. 4||mattod||Used dirty sample, force curve very bad, tip probably broken||[[File:Box1 no4 tilt21_10.jpg|200px]] | ||
| Line 83: | Line 83: | ||
|Box1 no. 5||mattod||Tip broken during tip change||[[File:Box1 no5 tilt21_20.jpg|200px]] | |Box1 no. 5||mattod||Tip broken during tip change||[[File:Box1 no5 tilt21_20.jpg|200px]] | ||
|- | |- | ||
|Box1 no. 6||abshir||Bad force curve (fluctuates)||[[File:Box1 no6 tilt0_34.jpg|200px]][[File:Box1 no6 tilt0_35.jpg|200px]] | |Box1 no. 6||abshir||Bad force curve (fluctuates)||[[File:Box1 no6 tilt0_34.jpg|200px]][[File:Box1 no6 tilt0_35.jpg|200px]][[File:box1 no6 90dg_00.jpg|200px]] | ||
|- | |- | ||
|Box1 no. 7||bghe||Was OK on large structures but they got larger||[[File:Box1 no7 tilt0_32.jpg|200px]][[File:Box1 no7 tilt0_33.jpg|200px]] | |Box1 no. 7||bghe||Was OK on large structures but they got larger||[[File:Box1 no7 tilt0_32.jpg|200px]][[File:Box1 no7 tilt0_33.jpg|200px]] | ||
| Line 91: | Line 91: | ||
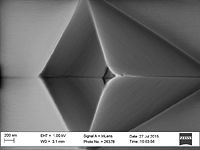
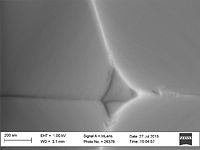
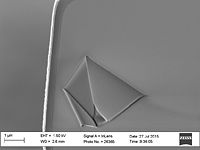
|Box1 no. 9||kabi||Blunt tip . Definitely (triangles)||[[File:Box1 no9 tilt0ny2_49.jpg|200px]][[File:Box1 no9 tilt21_17.jpg|200px]] | |Box1 no. 9||kabi||Blunt tip . Definitely (triangles)||[[File:Box1 no9 tilt0ny2_49.jpg|200px]][[File:Box1 no9 tilt21_17.jpg|200px]] | ||
|- | |- | ||
|Box1 no. 10||kabi||Blunt tip. Definitely (triangles)||[[File:Box1 no10 tilt0ny2_48.jpg|200px]] | |Box1 no. 10||kabi||Blunt tip. Definitely (triangles)||[[File:Box1 no10 tilt0ny2_48.jpg|200px]][[File:box1 no10 90dg_05.jpg|200px]] | ||
|- | |- | ||
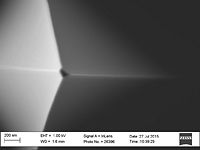
|Box2 no. 1||mattod||Bad force curve||[[File:Box2 no1 tilt0ny2_46.jpg|200px]][[File:Box2 no1 tilt0ny2_47.jpg|200px]] | |Box2 no. 1||mattod||Bad force curve||[[File:Box2 no1 tilt0ny2_46.jpg|200px]][[File:Box2 no1 tilt0ny2_47.jpg|200px]][[File:box2 no1a 90dg_13.jpg|200px]] | ||
|- | |- | ||
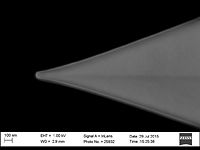
|Box2 no. 2||mattod||Broken tip||[[File:Box2 no2 tilt0ny_44.jpg|200px]][[File:Box2 no2 tilt0ny_45.jpg|200px]] | |Box2 no. 2||mattod||Broken tip||[[File:Box2 no2 tilt0ny_44.jpg|200px]][[File:Box2 no2 tilt0ny_45.jpg|200px]][[File:box2 no2 90dg_11.jpg|200px]] | ||
|- | |||
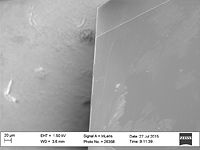
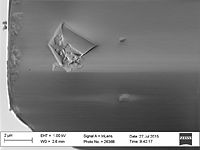
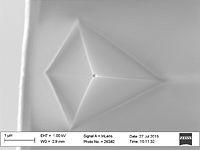
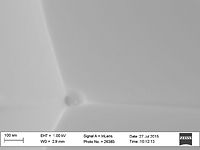
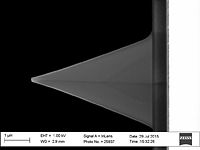
|Box2 no. 3||bghe||Got large triangle scanning the tip checker||[[File:box2 no3 90dg_07.jpg|200px]] | |||
|- | |- | ||
|} | |} | ||
Revision as of 06:29, 30 July 2015
Feedback to this page: click here
What scanning mode, experiment/workspace and probe should I select
| Roughness measurements | Topographic measurements with no steep/abrupt steps | Steep/abrupt steps but no high aspect ratio | High aspect ratio measurements | |
|---|---|---|---|---|
| Recommended mode | Roughness measurement can be done in both Contact, Tapping and ScanAsyst mode. We recommend ScanAsyst mode because of less chance of (non-uniform) deformation of the sample and less tip wear - and because of ease of use. | For Topographic measurements with no steep/abrupt steps we also recommend ScanAsyst mode due to less chance of (non-uniform) deformation of the sample and less tip wear - and because of ease of use. | For Steep/abrupt steps but no high aspect ratio structures we still recommend ScanAsyst mode due to ease of use and lower top wear. | For High aspect ratio measurements we recommend Tapping mode. There is not yet a ScanAsyst probe developed for high aspect ratio. Therefore we recommend Tapping mode. |
| Recommended probes | ScanAsyst in air | ScanAsyst in air | ScanAsyst in air for ScanAsyst mode
TAP300Al-G for Tapping mode |
AR5T-NCHR |
| Recommended experiment/Workspace |
QNM in air* |
QNM in air* |
QNM in air* | TappingMode 300nm trench (for steps <~1µm)
Tappping mode in air - 6µm Deep Trench (for steps >1~µm) |
*By choosing the work space/experiment QNM in air (Mechanical properties - QNM in air) scanAsyst is included and so are the nanomechanical properties like modulus, adhesion, dissipation and deformation.
More information about de different modes
Contact, Tapping and Peak Force Tapping
Please flowing this link to Brukers homepage: Introduction_to_Brukers_ScanAsyst_and_PeakForce_Tapping_Atomic_Force_Microscopy_Technology_AFM_AN133.pdf
PeakForce tapping and quantitative nanomechanical mapping
Please flowing this link to Brukers homepage: PeakForce tapping and Nanomechanical option
Peak Force KPFM (Kelvin Probe Force Microscopy)
Please flowing this link to Brukers homepage: pf-kpfm.html

